Why flock a refractor?
 |
| When it was new... |
As my skills with calibrating and squeezing more performance out of my camera has improved, I've been showing deeper details that were previously unseen by my efforts. At the same time, I've been showing some flaws in the way things work. There are slight gaps in the drawtube of the focuser and the paint is not fully non-reflective. This latter point is even visible in the as-new photo showing the slight pale ring reflection on the inside of the dew shield.
I felt that maybe the time had come to address some of these issues, especially since I'd learned how to take apart the SV4 and was no longer worried about the delicate nature of the method. It's actually not so delicate and components are rather sturdy.
Evidence
While the moon is currently full, I have been looking into doing a little bit of maintenance with my scope. I had done some imaging of IC 1396 recently and noticed that Erakis was causing some flare in the image.
You can see it in the lower left part of the frame as a red flare coming into the field of view. This is from a 4th magnitude star, so it's not even that bright. This is not something new. I'd seen it before with other targets, notably the Leo Triplet:

In the Leo image, the flare appears to be entering directly from the middle bottom of the frame. It's caused by 73n Leonis, a 5th magnitude star. In the processing, I tried to reduce the effect of the flare which is why it's not so notable in the final version.
Another example is found near the Witch Head nebula with Rigel beaming from off the side:

Each of these show a specific texture to the flare. There's a straight line look, almost iridescent ray that comes in from off the side of the frame. To my eye, it looks very much like the reflection from anodized metal.
This made me think a lot about a recent article from SBIG that discusses some problems with flats and how IR can make things challenging. This will be the topic of another post showing how I worked on flats.
Disassembly and Components
Because of the work I'd done recently to identify light leaks from around the feathertouch focuser, I was aware of the way that the anodized fins and flat surfaces on the drawtube were locations where off-axis light could bounce around.
I finally removed the scope from the mount and disassembled it all. Look at the bright spots of the feathertouch drawtube:
 |
| Outside looking in. |
 |
| Inside looking out. |
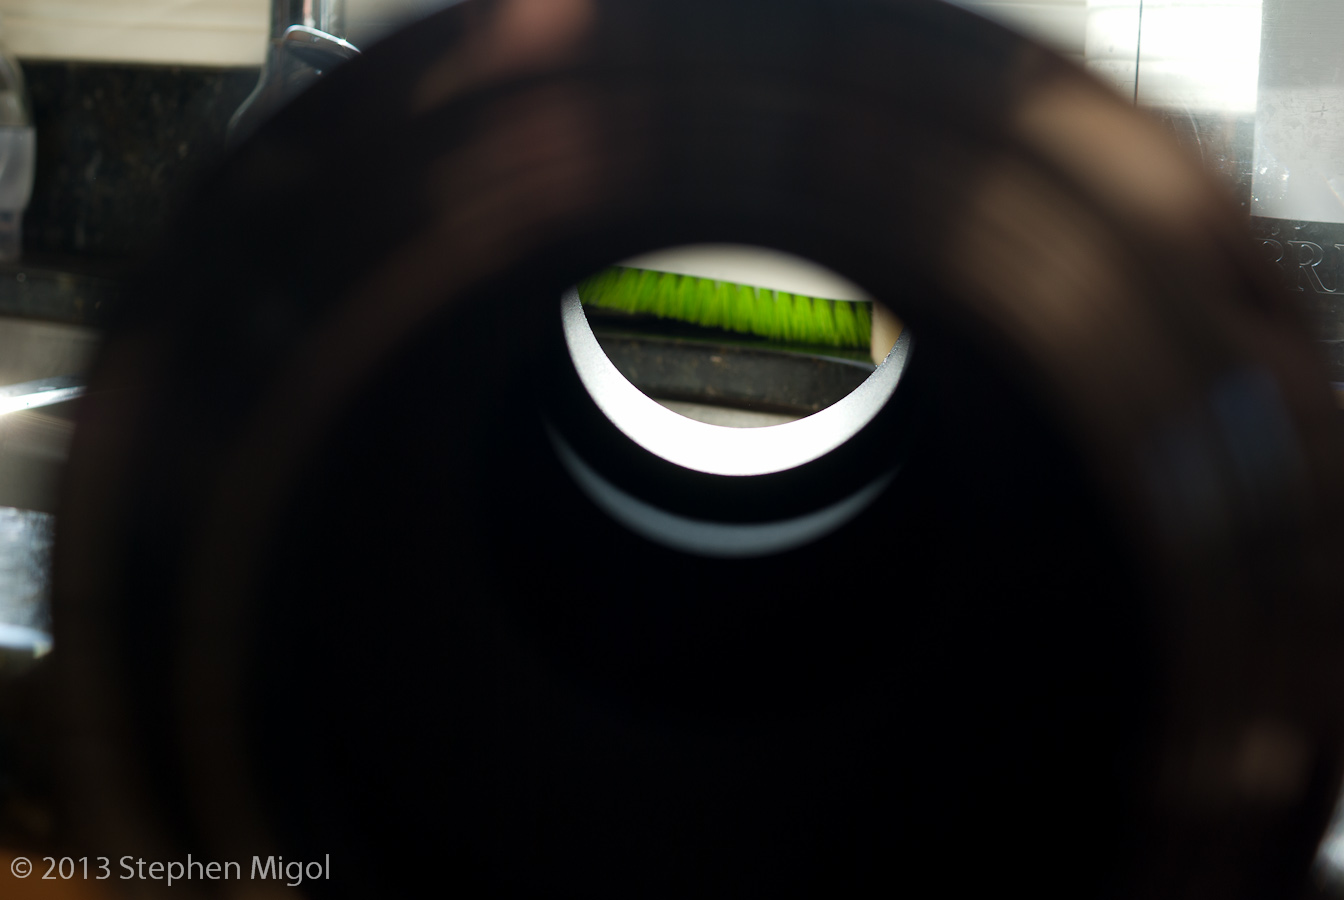 |
| Looking through the scope tube. |
 |
| Backside of the SV4 cell |
 |
| SV4 Cell Front |
Incidentally, this lens cell is heavy -- easily half the weight of the scope. I think the metal is probably steel to keep the size from changing much with temperature. The thickness of the glass is a bit hard to measure, I'd guess at least 1.5 inches. That much material makes for a hefty puck.
I also flocked the inside of the dew shield. I didn't take any pictures of that exercise because it's just a dew shield and there's nothing really special about it.
The flocking material I used was from Scopestuff. http://www.scopestuff.com/ss_flok.htm I got a couple of sheets of the paper so that I could put it on a variety of surfaces. I'd already used it inside the flattener and even in the T-ring. I've made it part of the tube I use when photographing negatives, too. Good material, really sticks strongly. Not very stiff when the backing paper is removed, so it can be a dexterity challenge when using a small amount in a tight space (like a flattener). I'll probably flock the inside of the SV 70 ED eventually as it will someday be pressed into service as a wide-field imaging scope.
I'll follow up in a later post with pictures of the assembled system.
Comments
Post a Comment